The Hammer 900Mhz LoRa Meshtastic 1 Watt Board
When milliwatts wont do, The Hammer does.
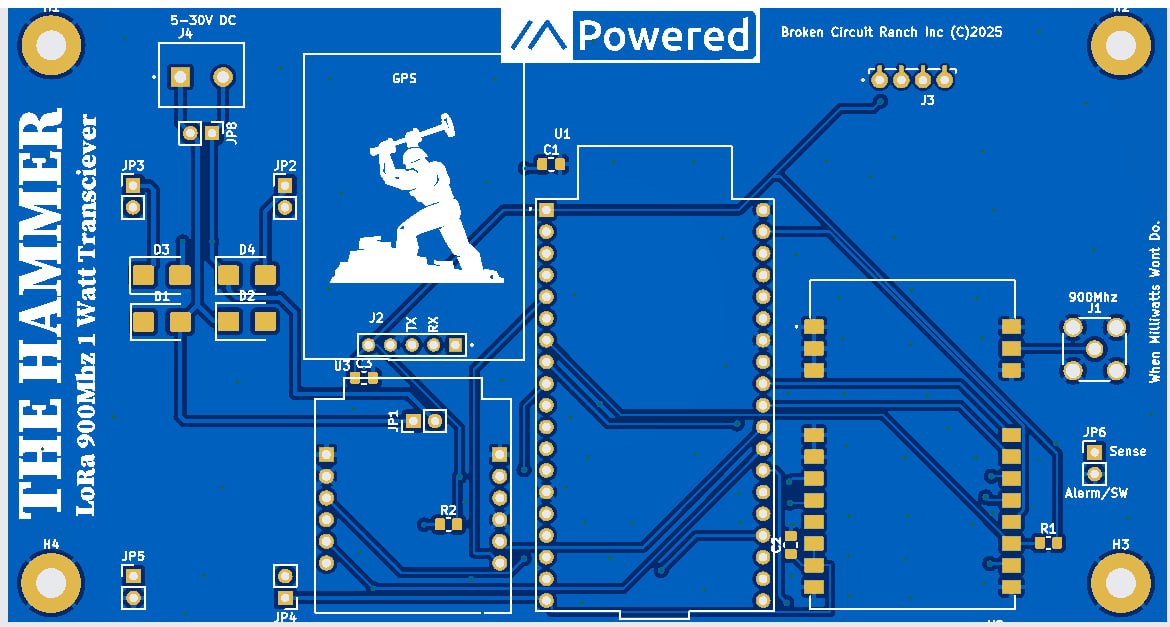
The Hammer board provides the user with up to 1 Watt of output transmit power where other brands only provide milliwatts of power. The board has been designed to be placed inside the customers own outdoor waterproof enclosure so that you can mount the radio outdoors.
On the roof or on the tower the hammer makes it easy with optional Power over Ethernet connectivity. Just plug it into any PoE injector (40Vmax DC) and your system will be live.
The radio comes with an SMA female jack to run to your 900mhz antenna (Or Bandguard Filter) as well as a uFL connector on the CPU for external 2.4Ghz WIFI/Bluetooth connectivity.
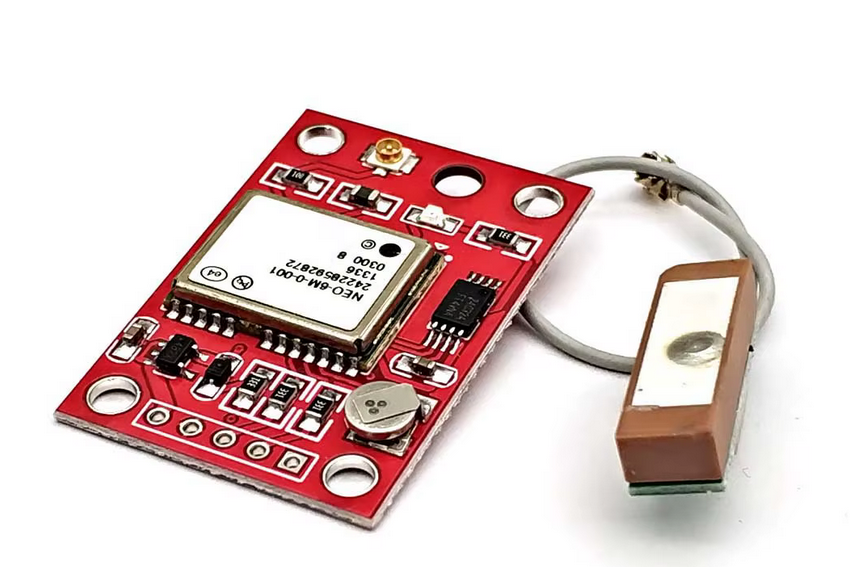
When ordering with the GPS module option. It will come pre-installed and tested.
BCRHammer ESP32 with LoRa and Ethernet (optional) Quick Start Guide
Welcome to the Quick Start Guide for the BCRHammer, a custom ESP32-based board designed to extend the Meshtastic ecosystem with dual LoRa (E22) and Ethernet (W5500) interfaces. This guide provides detailed instructions for assembling, configuring, and deploying your BCRHammer project. Whether you’re rapid prototyping or building a production-ready mesh node, this guide ensures a smooth setup with hardware and software steps, including example code to get you started.
Overview
The BCRHammer combines an ESP32 microcontroller with an EBYTE E22 LoRa module and a WIZnet W5500 Ethernet controller, offering:
LoRa Connectivity: Long-range, low-power communication via VSPI (pins 5, 19, 27, 18).
Ethernet Interface: Stable internet connectivity via HSPI (pins 35, 34, 25, 16), supporting 10/100BaseT speeds.
Meshtastic Integration: Pre-configured for Meshtastic firmware, enabling off-grid messaging and MQTT gateways.
This one-chip solution simplifies adding Ethernet to your Meshtastic node, with dual-SPI support for simultaneous LoRa and Ethernet operation.
Prerequisites
Before you begin, gather these items:
Hardware:
BCRHammer ESP32 board
USB-C cable (for programming and power)
Ethernet cable (CAT5e or better) (optional)
Optional: 3.7-4.2V LiPo battery (with correct polarity connector)
Optional: LoRa antenna (matched to your region’s frequency, e.g., 915 MHz for US)
Software:
Arduino IDE (latest version) or PlatformIO
Meshtastic firmware (e.g., firmware-bcrhammer-2.5.23.4e575872.uf2)
RAK13800_W5100S library (installed via Arduino Library Manager)
Meshtastic app (Android/iOS) or Web GUI for configuration
Product Configuration
Hardware Setup
Assembling the BCRHammer
The BCRHammer is a standalone board—no additional WisBlock base is required. Follow these steps to prepare it:
Connect the LoRa Antenna:
Attach a compatible LoRa antenna to the onboard SMA connector (J1).
Ensure the antenna matches your region’s frequency (e.g., 915 MHz for US915, 868 MHz for EU868).
Tighten gently to secure the connection.
Connect the Ethernet Cable: (optional)
Plug one end of a CAT5e Ethernet cable into the W5500 Ethernet port (J4) on the BCRHammer.
Connect the other end to your router or switch for network access.
Power the Board:
Option 1: If your board has the POE, plug in and enjoy.
Option 2: External 12V power supply connected to the blue power screw terminals..
Verify Connections:
Ensure all connections are secure—no loose cables or antennas.
Disassembling (If Needed)
To remove the antenna or cables:
Gently unscrew the LoRa antenna from J1.
Unplug the Ethernet cable
Disconnect the USB-C cable or battery from J2/J3—apply even force to avoid bending pins.
Software Setup
Installing the Development Environment
Arduino IDE:
Download and install from arduino.cc.
Open Arduino IDE, go to File > Preferences, and add the ESP32 board support:
Additional Boards Manager URLs: https://raw.githubusercontent.com/espressif/arduino-esp32/master/package_esp32_index.json.
Go to Tools > Board > Boards Manager, search for “ESP32”, and install the latest version.
PlatformIO (Alternative):
Install via VS Code extension or standalone.
Open PlatformIO Home, add espressif32 platform.
Adding Required Libraries
RAK13800_W5100S Library: (When Meshtastic Supports Dual SPI Ethernet)
Arduino: Sketch > Include Library > Manage Libraries, search “RAK13800_W5100S”, install.
PlatformIO: PlatformIO > Libraries, search “RAK13800_W5100S”, add to project.
Meshtastic Firmware:
Pre-flashed boards ship with Meshtastic firmware. To update:
Download from meshtastic.org or use firmware-bcrhammer-2.5.23.4e575872.uf2 (custom build if provided).
Use Meshtastic Flasher or Arduino IDE to upload.
Configuring the BCRHammer
Select Board:
Arduino: Tools > Board > ESP32 Arduino > ESP32 Dev Module.
Set: Flash Size: 4MB, Partition Scheme: Default 4MB with spiffs.


